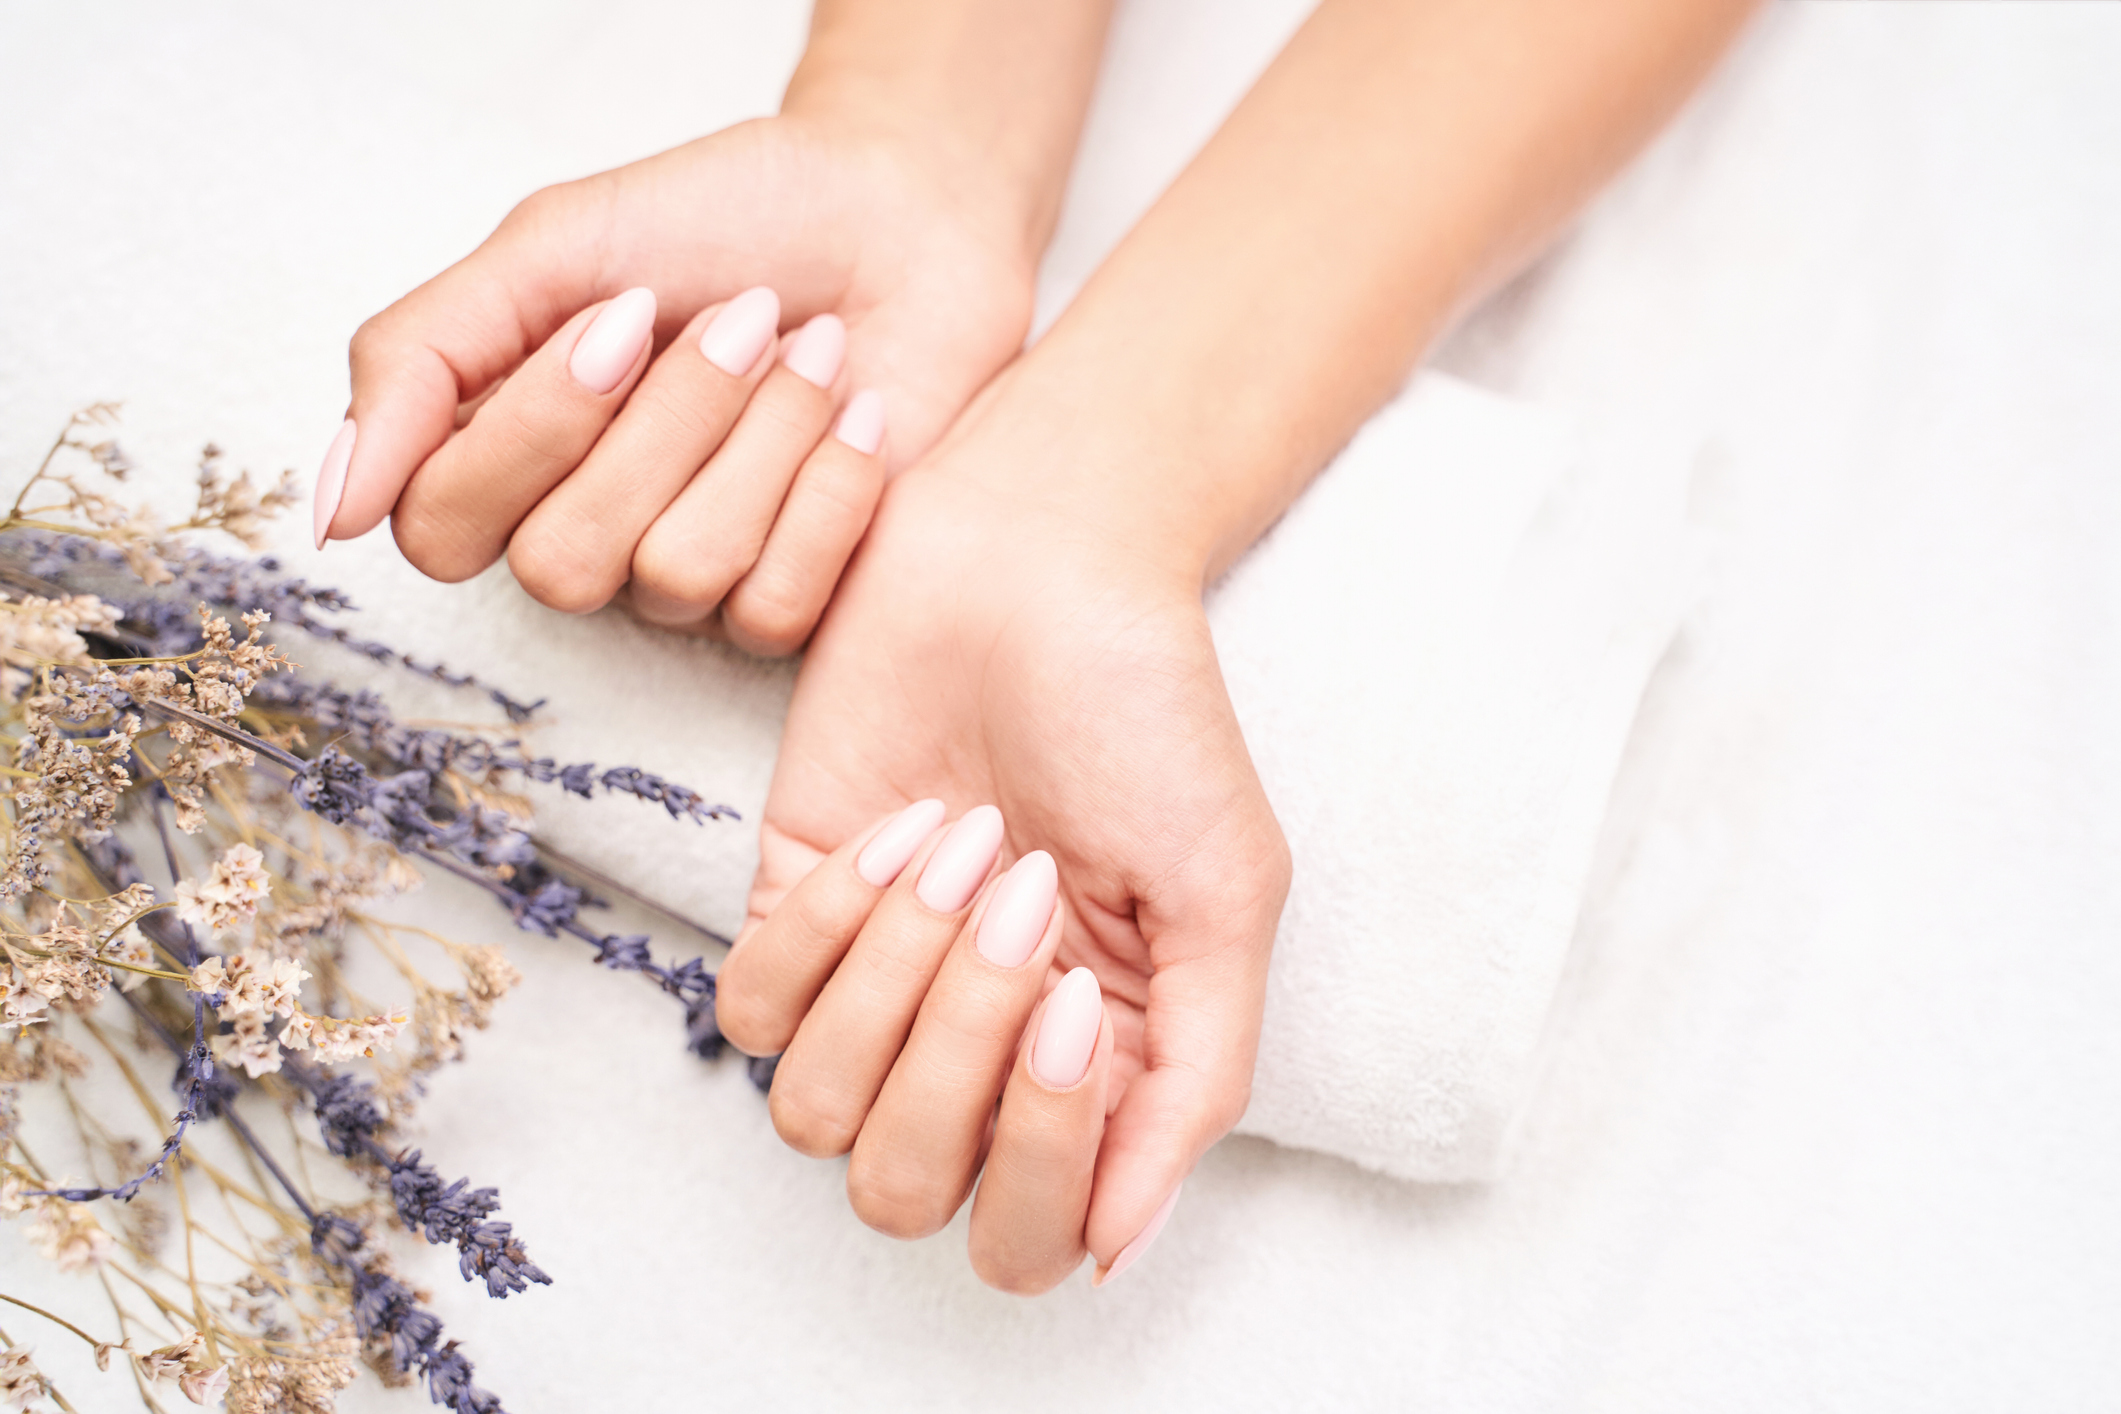
It’s time to relax, unwind and have some ‘me’ time!
We have created a simple step by step guide on how to do your nails at home. All products used can be purchased from your local pharmacy or supermarket!
If you currently have gel polish (shellac) on, and you’re dying to get it off safely, here’s how.
- Begin the process by gently filing the glossy top layer off the gel on each nail.
- Next, take some tin foil and cut into small squares that you can wrap around your nails.
- Douse some cotton wool in nail polish remover – the higher the acetone content, the better!
- Use the acetone-soaked cotton wool and place a piece over each nail (make sure they are fully covered)
- Take the tin foil and wrap around each finger to hold the cotton wool in place.
- Keep your nails wrapped for 10 – 15 minutes.
- Remove the cotton wool and tin foil from each nail
- Use a cuticle tool to gently push the gel off the nail, from cuticle to tip
If you don’t have anything on your nails currently, but would love a bit of a pamper session, here’s a basic guide on how to do your own nails.
- Make sure your hands are clean and dry
- Clip nails first if necessary
- Grab a nail file, hold flush to the nail and tilt so you file from slightly underneath. This will prevent you from overfilling – also remember to always move in one direction
- Buff the tops of your nails gently using a nail buff
- Using a manicure stick, gently push back your cuticles
- Exfoliate your hands. If you don’t have an exfoliating scrub try making your own (I made mine using coffee grinds, sugar and coconut oil)
- Moisturise hands and cuticles
- If you already have some, add some colour! We like to use a base coat, followed by two coats of colour and then a top coat – this sounds like a lot but you want them to last a long time!
Voila!

